Looking for a set of instructions you can print out? You can find them here.
Materials
- 24×24” Masonite board (or thin sheet good) (1) (back)
- 24 x 24” Galvanized sheet metal (1) (back)
- 1×2 24” Fir/Pine/Hemlock (4) (frame sides) (45 angle cut on both ends)
- 7/8” Nails (12)
- Picture hanging D-ring hooks with screws (2)
- Construction adhesive
- Chalk
- Chalkboard spray paint
- Paint or stain for frame
Assembly Tools
- Hammer
- Tape measure
- Pencil
- Clamps
- Caulk gun
- Nail gun
- Paint brush or foam brush
Step One
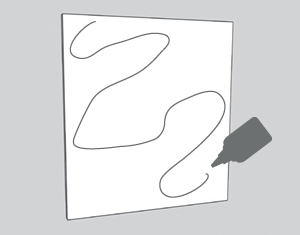
Apply a generous amount of construction adhesive to the 24×24” Masonite board.
Step Two
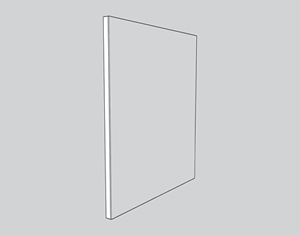
Place 24×24” galvanized sheet on top of adhesive and weigh down or clamp together to hold in place.
Step Three
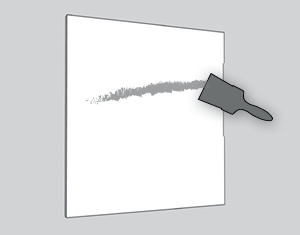
Paint the 24×24” galvanized sheet side with 2 coats of chalkboard paint.
Step Four
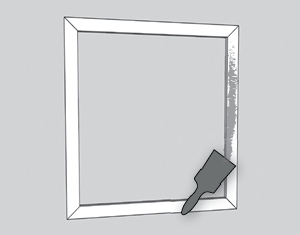
Paint or stain the 1×2 24” frame pieces.
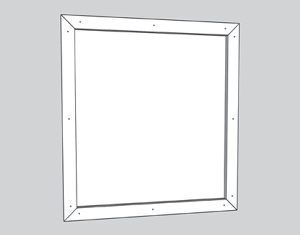
Step Five
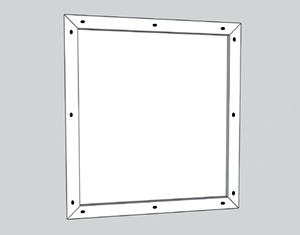
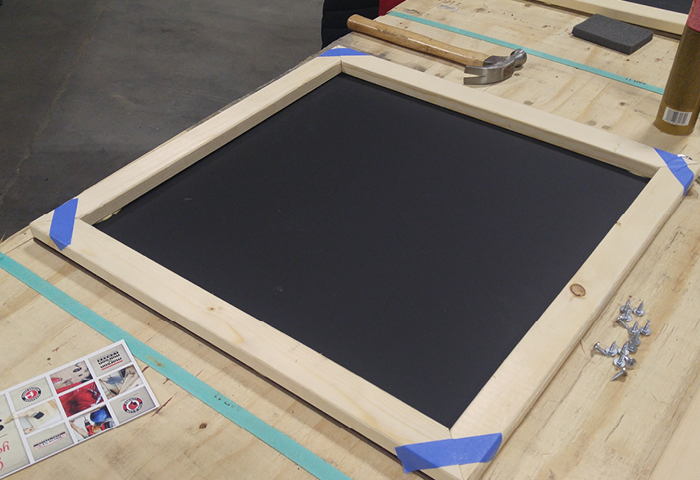
Glue and nail the frame pieces to the chalkboard, using three 7/8” nails per frame side.
Step Six
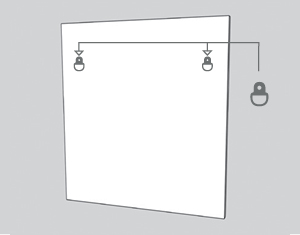
Flip over and install 2 D-ring hooks.
Step Seven
Let chalkboard dry for 24 hours before seasoning it by using the side of a piece of white chalk and running the chalk over the entire surface of the chalkboard, wiping off any excess with a cotton rag.